Concrete Etching: Everything You Need to Know for a Perfect Finish

Last updated on July 20th, 2025
Concrete etching is a practical process many homeowners and professionals use to transform dull concrete into a durable, attractive surface. By intentionally roughening the top layer of concrete, etching creates a porous, receptive texture. This makes concrete ready for paint, stain, sealant, or decorative finishes. Whether you’re freshening up a garage floor or prepping a patio for a stylish look, etching plays a key role in both residential and commercial projects. From prepping old driveways for resurfacing to helping new floors accept coatings, concrete etching is the first step toward a long-lasting, beautiful result.
Understanding Concrete Etching: Methods and Applications

Concrete etching prepares bare concrete by making its surface rough enough for coatings to bond well. There are several ways to achieve this effect, each with its own pros and cons.
Common Methods:
- Acid etching: Uses chemicals to react with the surface.
- Mechanical etching: Involves physically abrading the concrete with tools or sandblasting.
Etching is needed when:
- You want paint, stain, epoxy, or sealant to last.
- Concrete feels too smooth and slippery.
- You’re installing a new decorative finish.
Driveways, garages, patios, and commercial floors often need etching before any finishing work.
Acid Etching Explained
Acid etching uses chemicals, most often muriatic acid (diluted hydrochloric acid), to react with lime in the concrete. This chemical reaction slightly dissolves the top layer, revealing a rough, porous surface.
Chemicals commonly used:
- Muriatic acid (most popular, strong but effective)
- Phosphoric acid (gentler, less hazardous)
- Commercial concrete etching solutions
Pros:
- Fast and affordable for large areas
- Good for home garages and patios
Cons:
- Creates hazardous fumes and requires careful handling
- Can weaken concrete if overdone
- Requires thorough rinsing and neutralization
Safety tips:
- Always use protective eyewear and acid-resistant gloves.
- Suit up in long sleeves and pants.
- Work in a well-ventilated area and keep children or pets far away.
- Never mix acid with bleach or other cleaners.
Mechanical Etching and Alternatives
Mechanical etching skips chemicals and uses tools to roughen the concrete. It’s like sanding wood, but for stone.
Techniques include:
- Abrasive blasting (sand, glass bead, or other media)
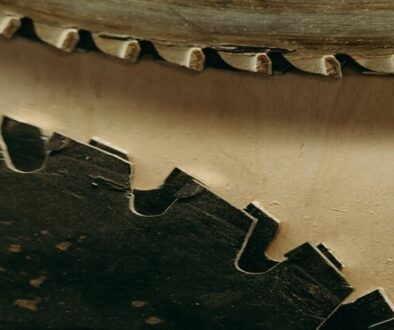
- Concrete grinding with diamond or carbide tools
- Shot blasting for heavy-duty projects
Compared to acid etching:
- No harsh chemicals or fumes
- More control over the finish
- Removes coatings and contaminants better
- Creates dust, so you’ll need a vacuum or dust collection
This method is ideal when you want more control, need to remove old paint or sealers, or want an eco-friendly option.
Common Uses for Concrete Etching

You’ll find concrete etching hard at work in a variety of real-world projects:
- Painting garage floors: Roughened concrete helps paint stick, resist peeling, and stand up to cars and spills.
- Stained patios or paths: Acid-stained finishes need clean, porous concrete for rich, lasting color.
- Epoxy coatings: Etching stops bubbling and delamination by creating a secure grip for thick coatings.
- Resurfacing projects: New overlays, micro-toppings, or stamped patterns require etched concrete to stay put.
From bold colors to tough, sealed surfaces, nearly every decorative or protective finish depends on a solid etching job.
Step-by-Step Guide to Concrete Etching
Etching isn’t complicated, but the results depend on careful surface preparation, proper technique, and safety awareness. Here’s how to do it right.
Surface Preparation and Safety Measures
Before you start etching, get your work zone and yourself ready.
- Clear the area. Remove all furniture, tools, and debris.
- Sweep and scrub. Use a stiff broom and non-sudsy soap to get rid of grease, dirt, and old coatings.
- Check for sealers. Pour a little water on the concrete. If it beads, there’s a sealer you’ll need to remove before etching.
- Protect yourself. Wear acid-resistant gloves, goggles, a face mask or respirator, and sturdy shoes.
- Ventilate. Open windows, doors, or use fans if inside.
- Tape off areas you don’t want to etch, like walls, plants, or trim.
Applying the Etching Method: Process and Tips
For Acid Etching:
- Mix the solution according to label instructions, always adding acid to water, not water to acid.
- Wet the concrete with clean water but don’t leave standing puddles.
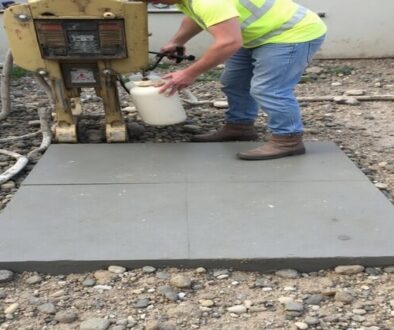
- Apply the acid solution with a plastic watering can or acid-resistant sprayer.
- Brush it in using a long-handled, stiff-bristled broom.
- Fizzing means it’s working. Watch for bubbling as the acid reacts.
- Let it sit for about 10 minutes, but don’t let it dry.
- Rinse thoroughly with lots of clean water.
- Neutralize acidic residue with a baking soda and water solution if the product label requires.
- Do a water test. Pour water; it should soak in quickly.
For Mechanical Etching:
- Choose your tool. For small jobs, use a hand grinder. Larger jobs may need a floor grinder or blaster.
- Attach a dust shroud and connect a vacuum if possible.
- Work in sections, overlapping each pass for even texture.
- Vacuum up debris between passes.
- Check the finish. The surface should feel rough, like medium-grit sandpaper.
Tips for best results:
- Never rush neutralizing and rinsing after acid etching.
- Over-etching makes concrete weak and chalky.
- Always follow equipment safety instructions if grinding or blasting.
Aftercare: Cleaning, Neutralizing, and Sealing
Once you’ve etched the concrete, the job isn’t done yet. Post-etch care sets you up for a long-lasting finish.
- Rinse, rinse, rinse. Remove all acid or dust.
- Neutralize acidic residue using a mixture of baking soda and water. Rinse until runoff shows neutral pH.
- Let the surface dry thoroughly. Moisture trapped under paint or sealer will ruin your work.
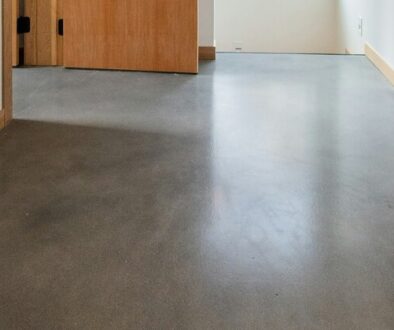
- Inspect the texture. It should be even and gritty, not smooth or crumbly.
- Apply your coating. Paint, stain, or sealer should go on within a few days for best adhesion.
- Seal the surface. A quality sealer locks in the finish and blocks stains.
Don’t skip sealing. Concrete is porous, even after etching, and sealing keeps out moisture, oil, and grime.
Conclusion

Concrete etching unlocks the secret to strong, durable, and beautiful concrete finishes. With the right prep, method, and aftercare, anyone can make old concrete look new or get professional results on a DIY project. For small, straightforward jobs, most people can tackle etching over a weekend with basic tools and supplies. For larger spaces or specialty work, consider hiring a pro to handle the labor and safety concerns.
Whatever you choose, taking the first step with etching sets the foundation for every gorgeous, long-lasting concrete project to come.


